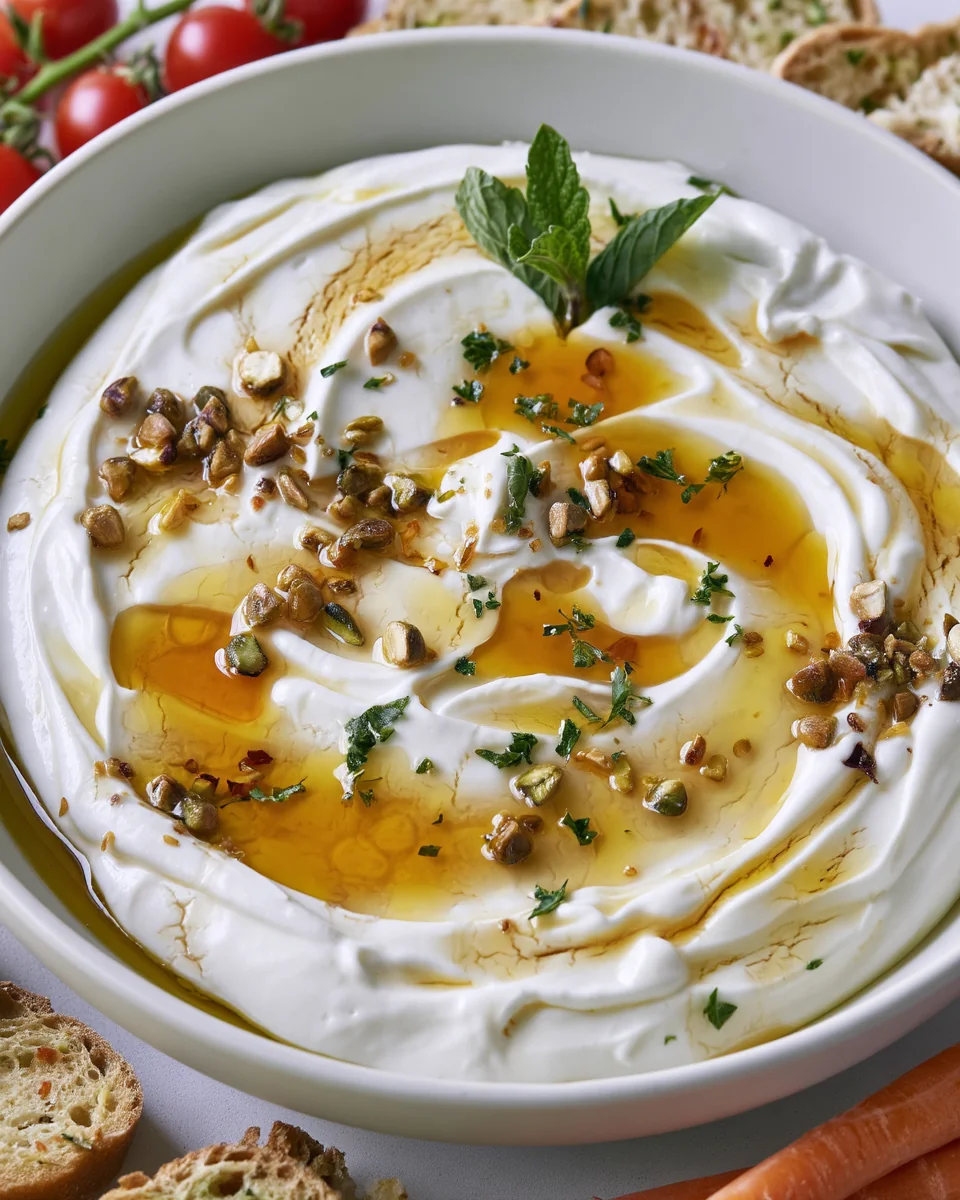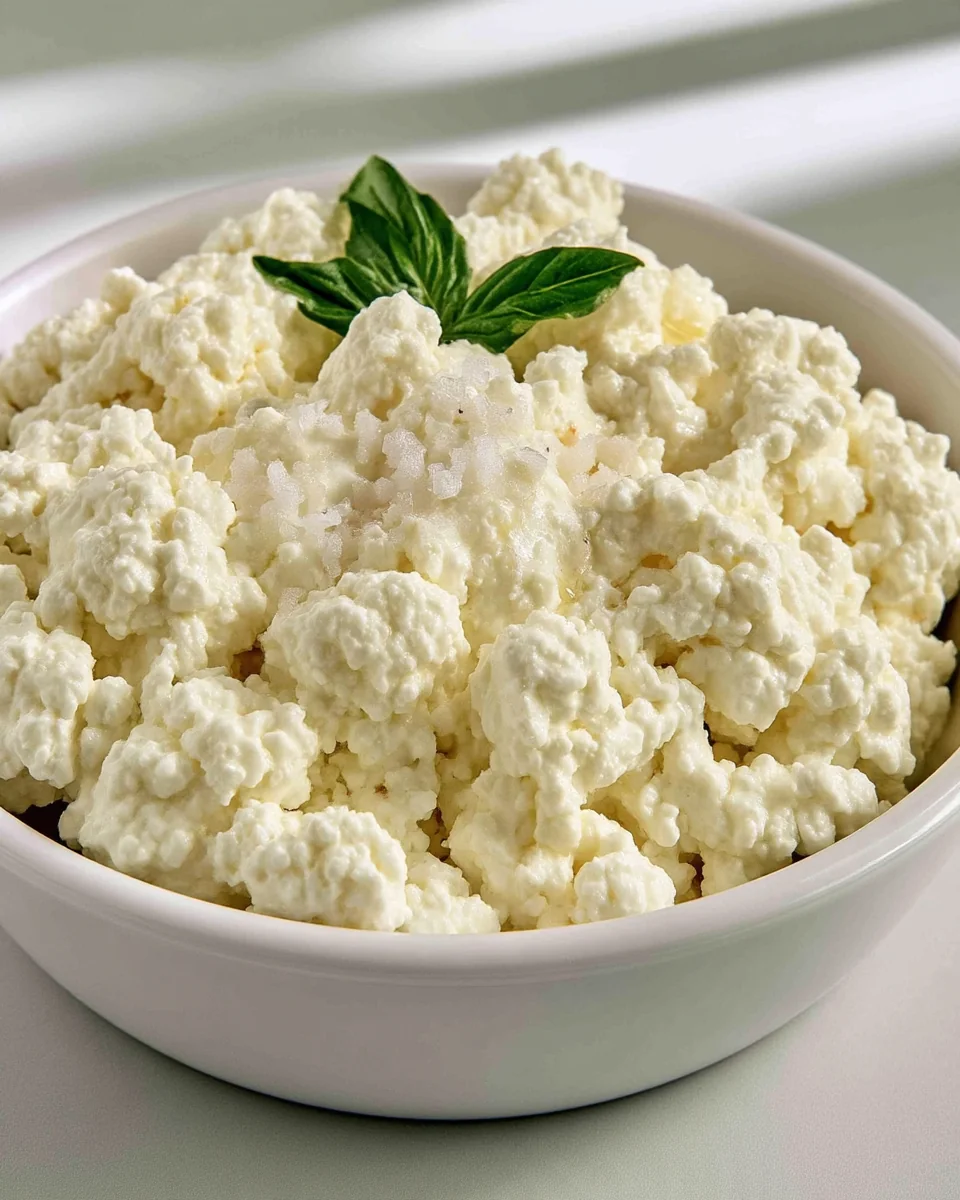
The Creamiest 4-Ingredient Homemade Ricotta is a silky, subtly tangy treat that melts in your mouth. Whether you’re spreading it on crunchy toast or folding it into a pasta dish, homemade ricotta adds a remarkable touch to any meal. It's the kind of dish you make when you want a little luxury in your everyday cooking.
This recipe stands out by using both whole milk and heavy cream, a combination that guarantees a creaminess that many other recipes fail to achieve. Many home cooks rush the resting phase, but allowing the curds to sit for a proper 30-60 minutes is essential. This step ensures that you achieve a rich and thick texture that elevates your ricotta above the rest.
Why You'll Love This Recipe
- Unmatched creaminess — The blend of whole milk and heavy cream creates a rich texture that you won't find in lighter recipes.
- Quick preparation — With only three minutes of prep time, you can fit this dish into your busy schedule.
- Simple ingredients — This recipe uses just four ingredients, making it accessible and straightforward for anyone to replicate.
- Flexible uses — Enjoy this ricotta in various ways, whether on toast, in pasta dishes, or simply drizzled with olive oil and flaky salt.
- Resting enhances texture — Allowing the curds to rest is a crucial step that dramatically improves the final silkiness of the ricotta.
Ingredients & Substitutions
Serves 4
For the Ricotta
- 4 cups whole milk — provides the base richness; use 2% for a lighter texture, but avoid skim milk for this recipe.
- 1 cup heavy cream — adds creaminess that regular milk alone can't achieve; half-and-half can work in a pinch, but it won't be as rich.
- 3 Tbsp fresh lemon juice — contributes acidity for curdling; bottled lemon juice may lack the same fresh flavor.
- ½ tsp Kosher salt — enhances flavor; table salt can be used, but reduce the amount slightly, as it's denser.
How to Make The Creamiest 4-Ingredient Homemade Ricotta
Step 1: Heat the Milk and Cream
In a stainless steel or enamel cast iron saucepan, combine 4 cups of whole milk and 1 cup of heavy cream. Warm the mixture over medium heat, stirring occasionally to prevent scorching, until it reaches 190-195°F (88-91°C). You'll know it's hot enough when steam rises and tiny bubbles begin to form around the edges.
Step 2: Coagulate with Lemon Juice
Remove the saucepan from heat and add in 3 tablespoons of lemon juice and ½ teaspoon of kosher salt. Stir gently once to combine—avoid vigorous mixing to prevent breaking the curds. Let the mixture sit at room temperature for 5-10 minutes. You should see small curds beginning to form and separate from the clear whey.
Step 3: Strain the Curds
Set a fine mesh strainer over a large, non-reactive bowl. Line the strainer with cheesecloth that's folded 2-3 times. This will catch the curds while allowing the whey to drain away.
Step 4: Strain the Ricotta
Carefully pour the curds and whey into the lined strainer. Allow the mixture to drain for 30-60 minutes. Check the texture after 30 minutes. If you desire a thicker ricotta, let it sit longer, draining the excess whey as needed.
Step 5: Drain Excess Liquid
Once you have reached your desired thickness, gather the cheesecloth around the curds and twist it to seal. Lightly squeeze any excess liquid out—be gentle to avoid losing the creamy texture. Transfer the ricotta to a serving bowl or airtight container for later use.
Step 6: Serve and Enjoy
Homemade ricotta is best served warm. Drizzle it with a high-quality olive oil and sprinkle with flaky sea salt before serving. It’s an excellent topping for bread or an addition to your favorite pasta dishes.
How to Serve The Creamiest 4-Ingredient Homemade Ricotta
Whipping up a batch of homemade ricotta is just the start; how you serve it can elevate your dish to something truly special. The creamy texture and subtle tang of this ricotta make it incredibly versatile. Whether you're presenting it as an appetizer or using it in pasta, the right serving method enhances its qualities.
Serving Ideas
- Serve warm straight from the pot — Once your ricotta is ready, let it rest for 30 minutes to cool slightly. This preserves its silky texture, making it delightful to spoon over toast or salad.
- Plate in a shallow bowl with olive oil drizzled on top — A wide, shallow dish allows the creamy ricotta to spread and blend beautifully with olive oil and flaky sea salt, creating a visually appealing centerpiece.
- Pair with seasonal fruits — For a stunning display, arrange fresh figs, peaches, or berries beside the ricotta. This adds color and a sweet contrast, making it a fresh appetizer.
- Perfect for brunch or casual gatherings — The ricotta is an excellent addition to a brunch table alongside crusty bread, fruit, and a drizzle of honey, serving as a spread for various tastes.
What to Serve Alongside
- Toasty Bread — The warm, crispy surface contrasts perfectly with the creamy ricotta, allowing for an indulgent bite.
- Honey — A drizzle of honey adds sweetness, balancing the ricotta's rich creaminess and making it ideal for a breakfast treat.
- Roasted Vegetables — The earthiness of roasted vegetables complements the light nature of the ricotta, providing varied textures and flavors.
- Prosciutto — This salty, savory element enhances the dish, bringing a delightful contrast to the mild ricotta.
- Balsamic Reduction — A splash of this tangy-sweet sauce brightens the dish, adding depth and enhancing the ricotta's subtle flavor.
- Crackers or Crostini — Their crunchiness pairs beautifully with the softness of the ricotta, making them great for snacking or sharing.
 Pin it
Tips for the Best The Creamiest 4-Ingredient Homemade Ricotta
Homemade ricotta is a delightful treat, and a few simple tips will ensure you achieve the best texture and flavor.
- Heat the milk and cream precisely — Aim for 190-195°F (88-91°C) to activate the coagulation process. Heating beyond this can overcook the curds and lead to a grainy texture.
- Use fresh lemon juice — The acidity in lemon juice is crucial for curd formation. Fresh juice gives the best flavor; bottled juice may not produce the same result.
- Let the ricotta rest for at least 30 minutes — Longer resting time allows the curds to thicken and attain that luxurious creaminess. Checking after 30 minutes will help you adjust to your desired texture.
- Choose a fine mesh strainer — When straining the curds, a fine mesh ensures that you capture all the small particles, giving you a smoother final product without any graininess.
- Avoid over-squeezing the cheesecloth — Squeezing out too much liquid can lead to a dry ricotta. Just a gentle press will give you the perfect creaminess.
- Keep a close eye on texture — Curds should be set but still jiggle slightly; if they are too firm, they may become dense after draining.
- Store in an airtight container — Homemade ricotta is best enjoyed fresh but can last up to 5 days in the fridge. For long-term storage, freeze it for up to 2 months to maintain its quality.
How to Store The Creamiest 4-Ingredient Homemade Ricotta
Homemade ricotta keeps best in an airtight container in the refrigerator for up to 5 days. This prevents bacterial growth and keeps the cheese fresh and creamy. Although you might be tempted to leave it out, ricotta's dairy content means it needs cool temperatures to stay safe to eat.
Refrigerator
- Keeps for up to 5 days.
- Store in an airtight container to prevent moisture loss and contamination.
- If it develops an off smell, a slimy texture, or mold, discard it.
Freezing The Creamiest 4-Ingredient Homemade Ricotta
- Freezes for up to 2 months.
- Use a freezer-safe container, leaving a bit of space for expansion.
- Thaw in the refrigerator overnight. If it appears watery after thawing, gently stir to recombine.
Frequently Asked Questions
Here are answers to some common questions about making ricotta at home.
Can I make The Creamiest 4-Ingredient Homemade Ricotta ahead of time?
Yes, you can prepare it a day or two in advance. Just make sure to keep it in the refrigerator, and it will be especially delicious when served fresh.
Why did my ricotta turn out dense?
If your ricotta is dense, it likely didn't drain long enough. Make sure to let it rest 30-60 minutes in the cheesecloth; this time is critical for developing a creamy texture.
Can I halve the recipe for The Creamiest 4-Ingredient Homemade Ricotta?
Yes, you can halve the recipe without any issues. Use 2 cups of whole milk, ½ cup of heavy cream, and adjust the other ingredients accordingly.
Does The Creamiest 4-Ingredient Homemade Ricotta freeze well?
Absolutely! It freezes well for up to 2 months. Just be aware that the texture might slightly change after thawing, so stir gently before serving.
What pan can I use instead of a stainless steel saucepan?
You can use an enamel cast iron pot if you don't have a stainless steel saucepan. Just ensure it has a thick bottom to prevent scorching the milk while heating.
Final Thoughts
This recipe for The Creamiest 4-Ingredient Homemade Ricotta is a game-changer in your kitchen. Its ease and creamy results make it a delight to prepare, whether for a simple spread or a luxurious pasta dish. Feel free to customize it by adding herbs or spices for different flavor profiles. Try making this ricotta today, and share your results!